
 Growing up, my family took a lot of annual trips to the mountains of North Carolina. No matter what time of year, it was always beautiful—driving around on the Blue Ridge Parkway, admiring the blooming rhododendrons, rolling hills filled with cows, and ooh-ing and ahh-ing at the gorgeous fall foliage. Once on Main Street, we would park for the day and walk around the town, poking into stores that looked interesting, eating at family-owned restaurants, and finishing the trip with homemade ice cream and waffle cones. Thinking about those trips brings back a wave of nostalgia.
Even as an adult, my mom and I take the same trip to Blowing Rock and set aside a day for exploring. We wander through antique stores, hoping to find that perfect piece of stained glass, taking a long, leisurely lunch, and most importantly, enjoying each other’s company.
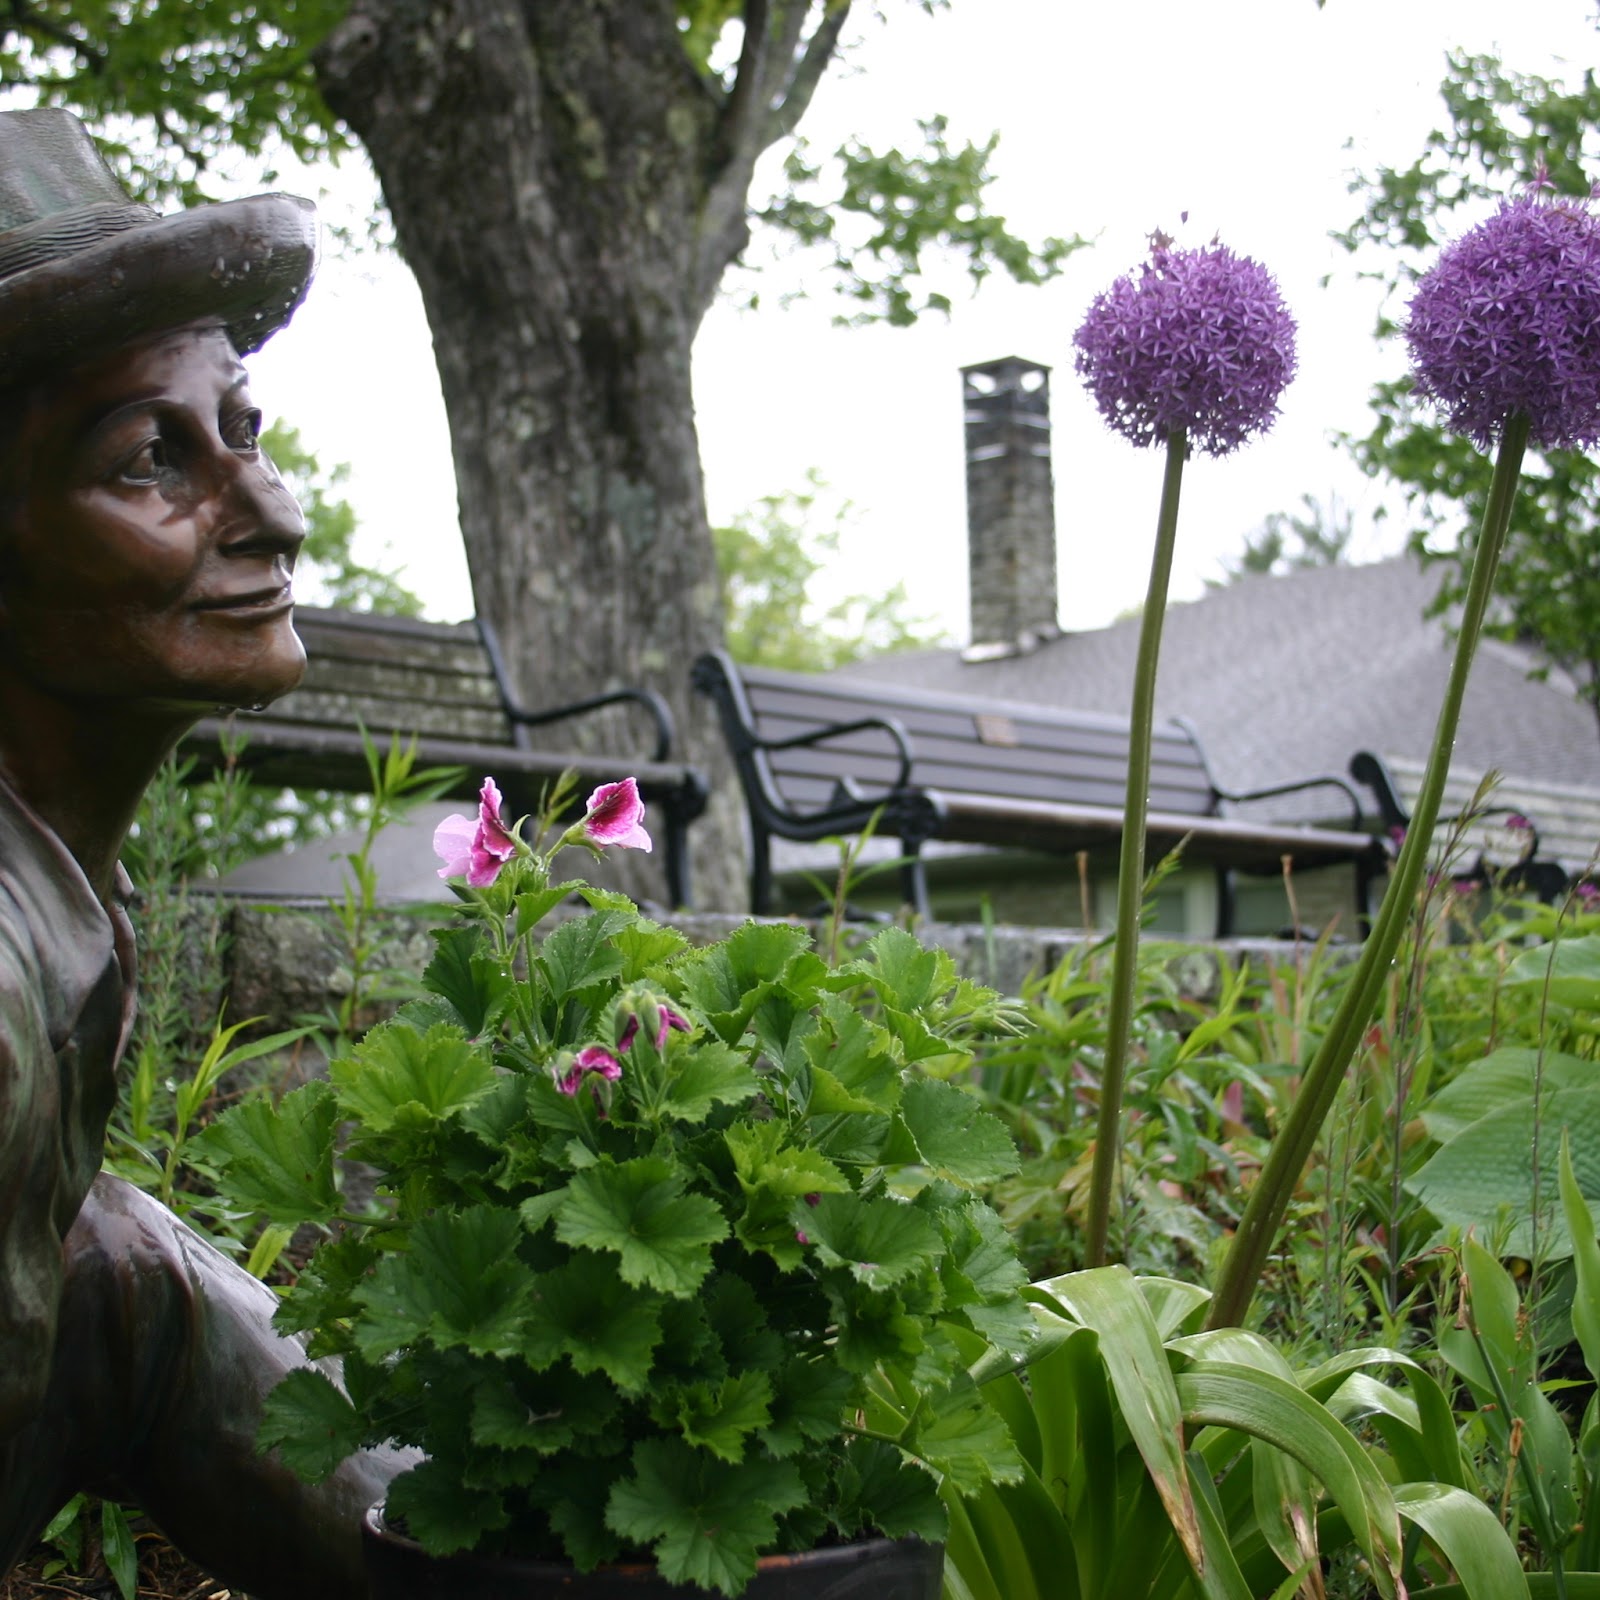
So, when I thought about my new line of imagery, what better place to be inspired than the mountains of NC? I set aside a day to explore and get back in touch with a place that has a lot of memories for me. Unfortunately, the weather was horrible, dipping down into the 40s at times, with a lovely dose of sideways rain and heavy winds. Even with these uncooperative weather conditions, it was a wonderful and inspiring trip. I decided to wait out the heavy downpour and stopped into Storie Street Grill http://www.storiestreetgrille.com/ for a hearty sandwich and dry place to relax. Luckily, the rain stopped as soon as I finished and I decided to get out quickly to explore. I didn’t want to take any chances! The weather was cooperative as I walked around Main Street, exploring the park, taking pictures of anything that was inspiring. The azaleas and rhododendrons were in full bloom and everything was so lush and green because of the recent rains.
I popped into a candle shop http://www.highcountrycandles.us/ where two ladies were making vibrantly colored candles. Some of them were plain and traditional while most of the shop was filled with decorative ribbon candles. They were extremely enthusiastic and told me everything about their candle making process. After spending some time there, I moseyed on up the street and stopped into an old favorite. What trip to Blowing Rock would be complete without a trip to Kilwin’s Chocolate, Fudge, and Ice Cream Shop? https://www.kilwins.com/blowingrock1 You can literally smell the house-made waffle cones 3 blocks away—it’s intoxicating. They also make their own fudge. After having a filling lunch an hour before, I still couldn’t resist getting a waffle cone filled to the brim with mint chocolate chip and toffee ice creams. It was delicious. Every last bite!
After exploring the main strip, I ventured to The Blue Ridge Parkway for some flora and botanical samples. I literally drove around for hours, stopping on the side of the road, picking up rocks, pinecones, tree limbs, flowers, and ferns. If it looked interesting, you can bet it came home with me. This was the highlight of the trip. Running in the rain, forging for inspiration. It reminded me of my flea market days in California, foraging for handbags. After driving, stopping, and picking for hours, I had a carload of cuttings and knew that I had enough inspiration to get me started on a wonderful, new line of images.
I was stoked to get started and get back to my studio and begin studying the shapes, drawing them out on paper.


I was stoked to get started and get back to my studio and begin studying the shapes, drawing them out on paper.


